
Guides · Apple Watch
Navigate off your wrist.
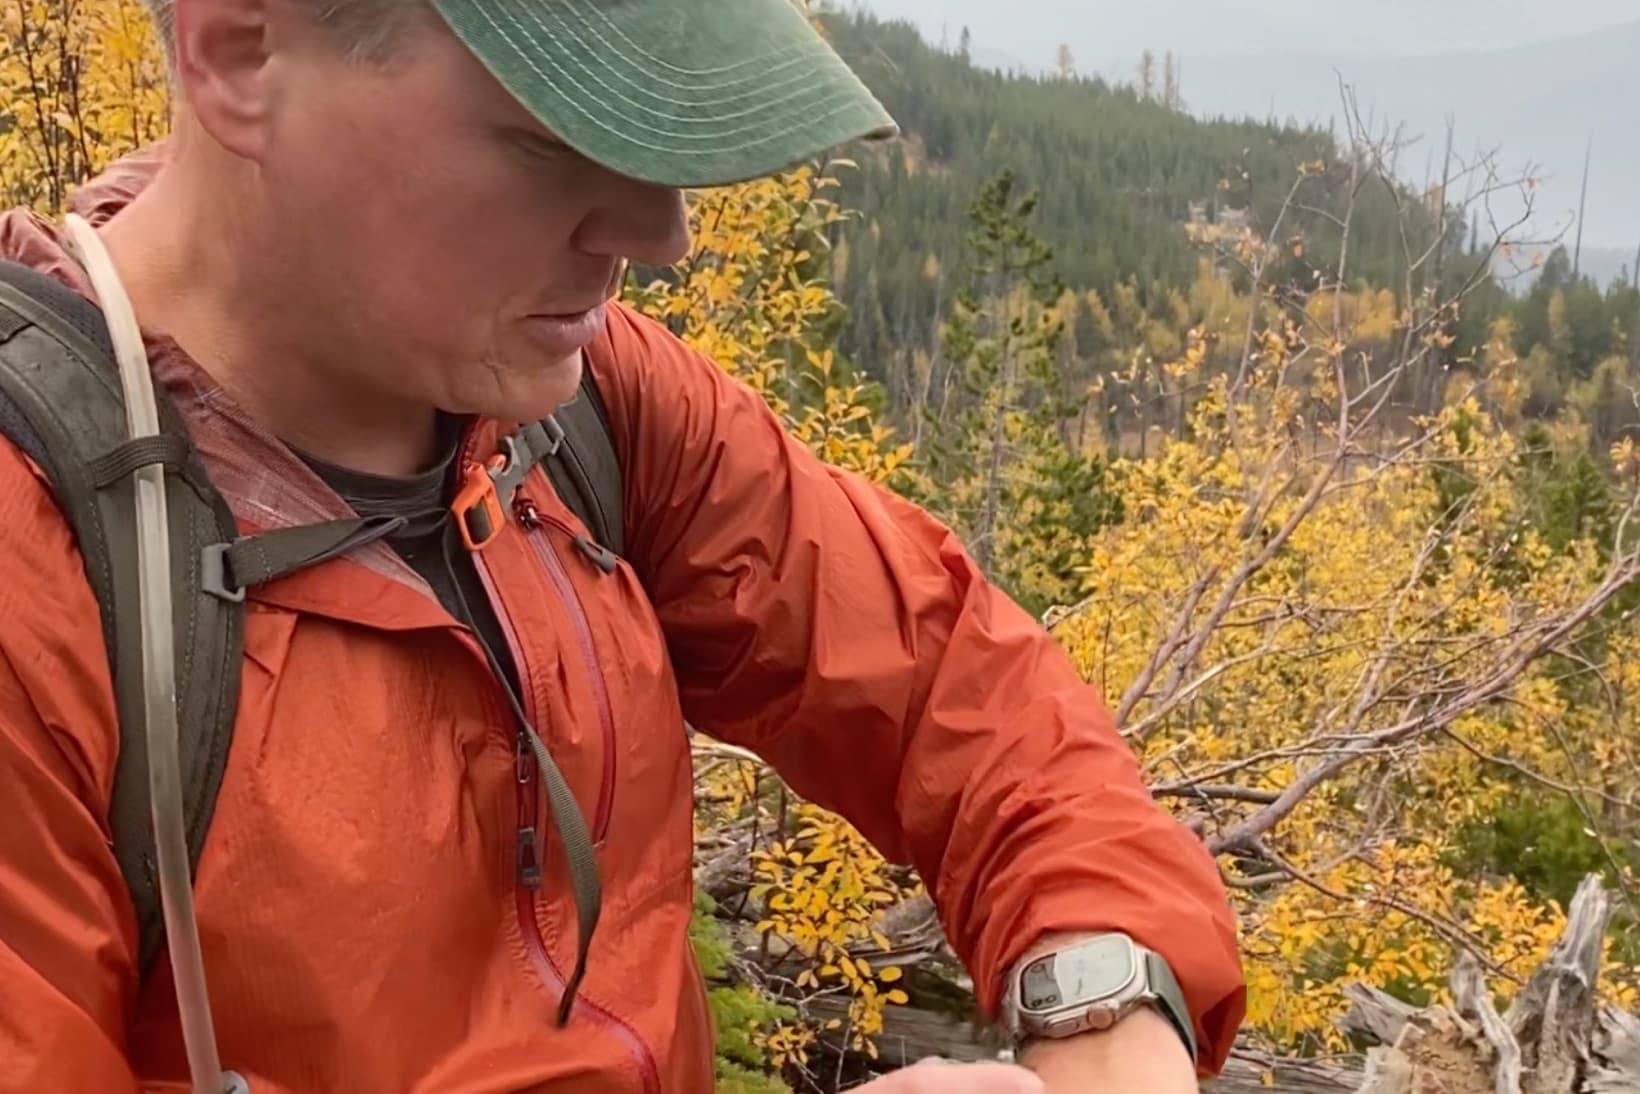
I do about 95% of my backcountry navigation on my Apple Watch now — a glance instead of a stop. Here’s what it can do, and exactly how I set it up.
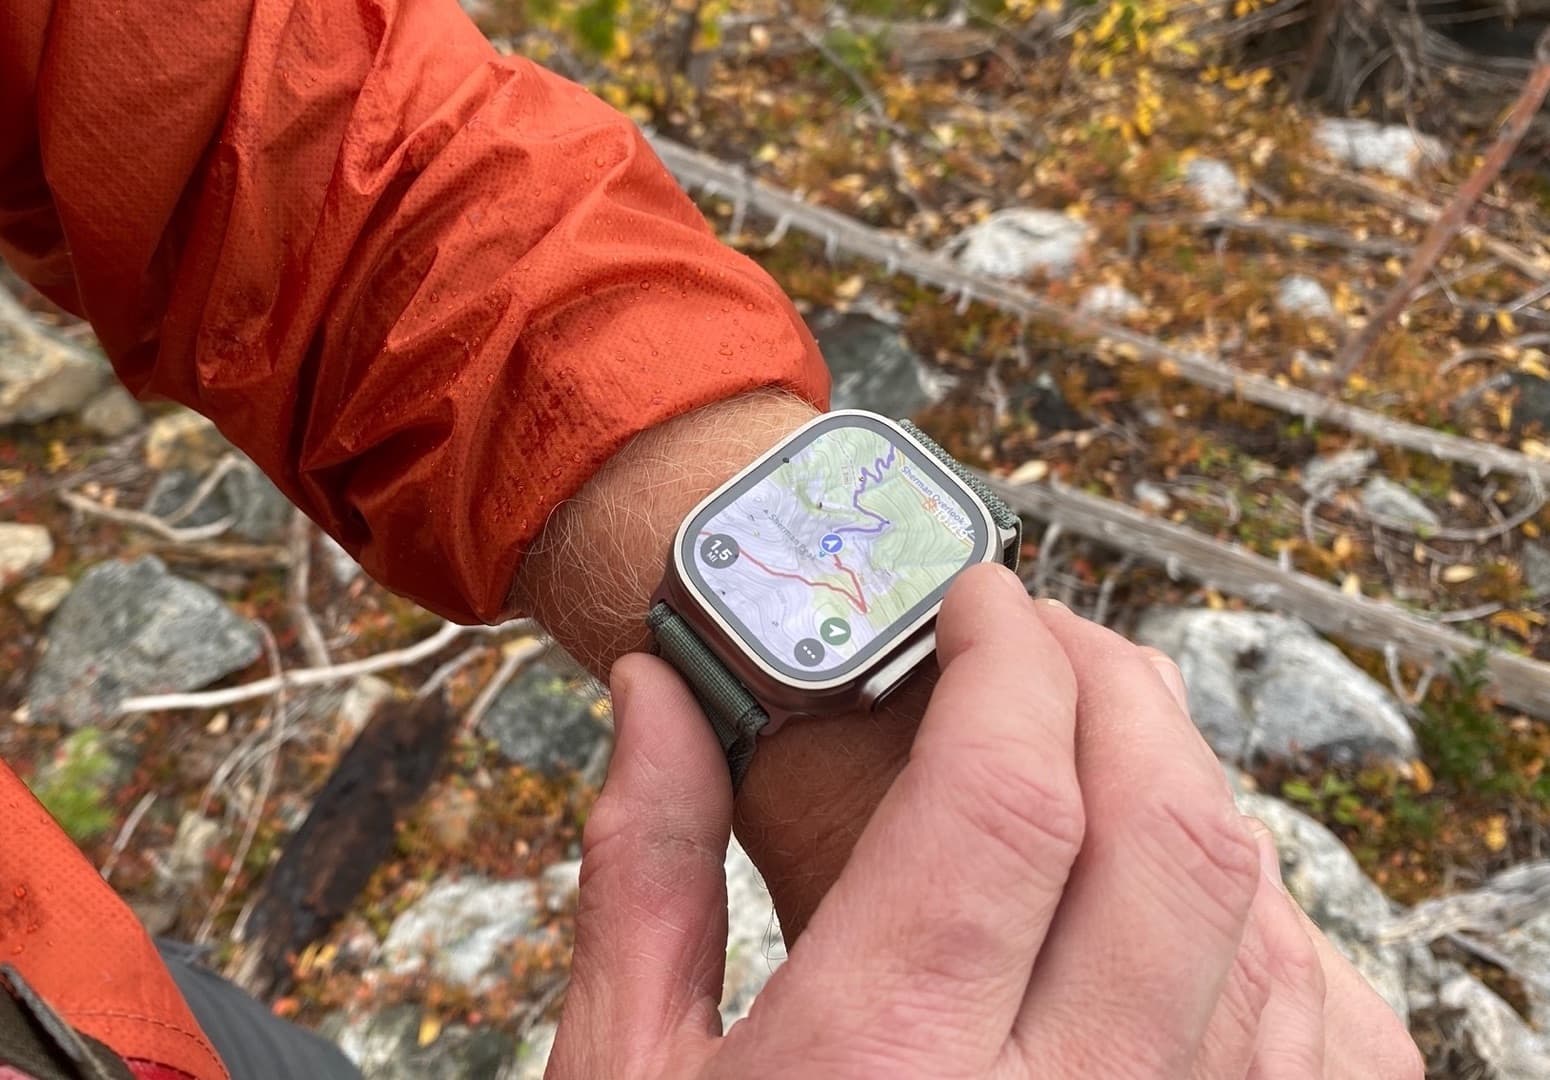
What it actually is
It’s a real map, not a dot on a screen.
Most watch apps give you an arrow and a distance. Topo Maps+ gives you the actual map.
- Real backcountry maps on your wrist — Glacier Topo, USGS, USFS, and the rest of the library, not a stripped-down basemap.
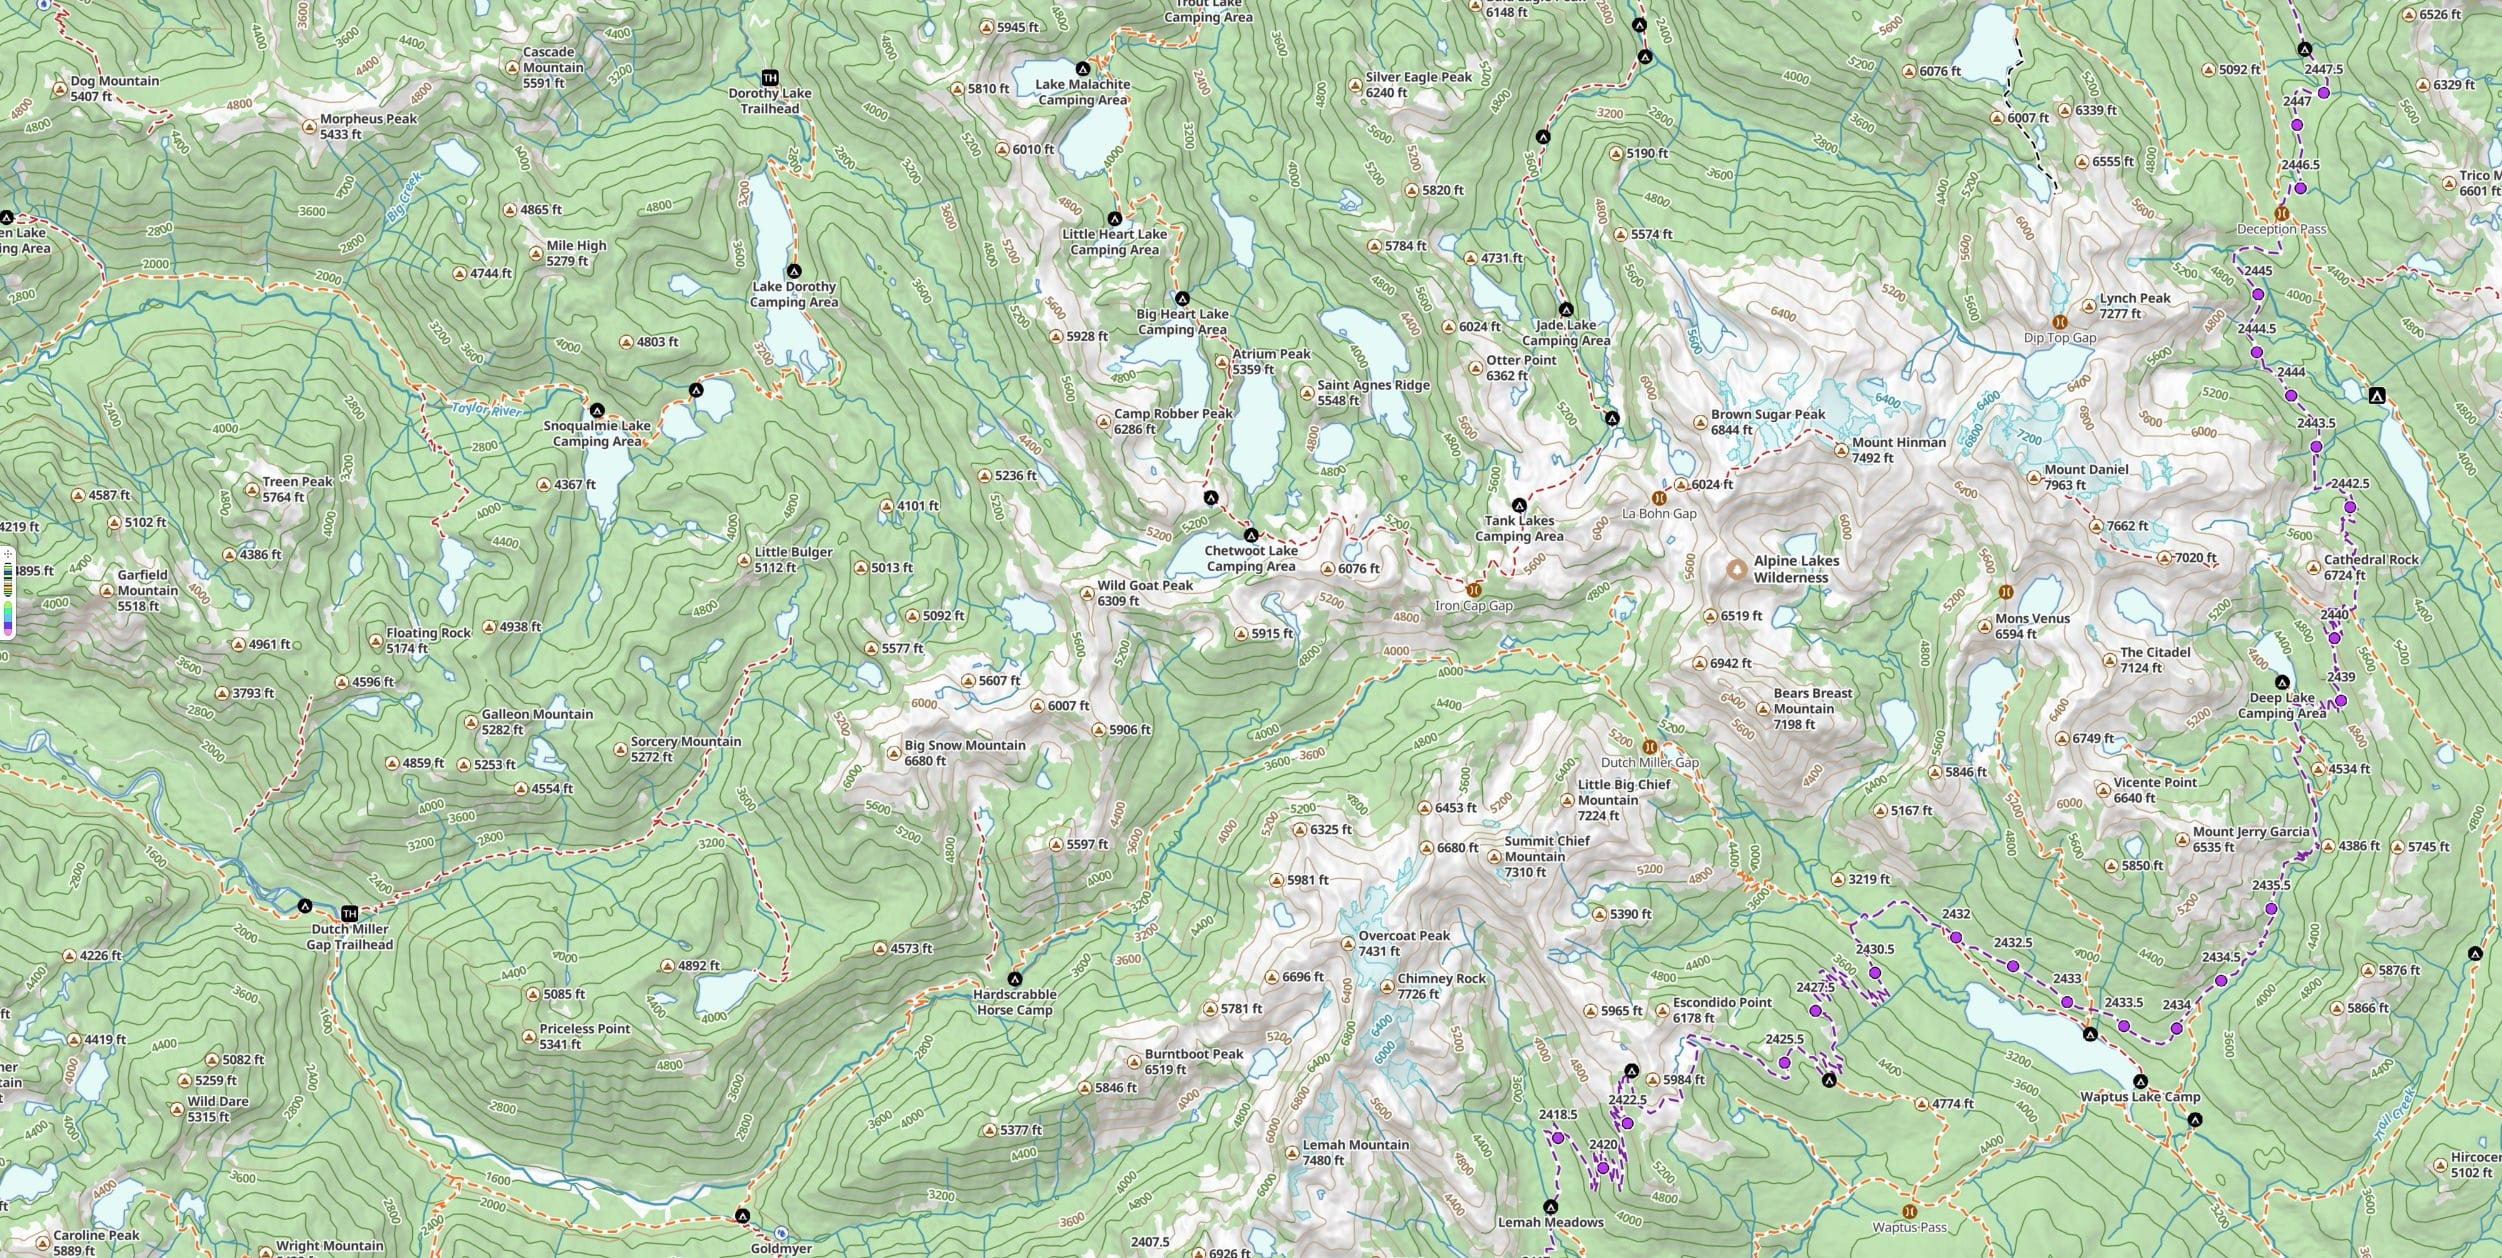
- The full map, not just your location. You can pan and zoom anywhere — look ahead at the next drainage, check the ridge above you — instead of being locked to a dot in the center.
- A deliberately minimal interface. On a screen that small, space is everything. I keep the map big and uncluttered rather than burying it under a wall of stats. You’re out there to read the terrain, not your heart rate.
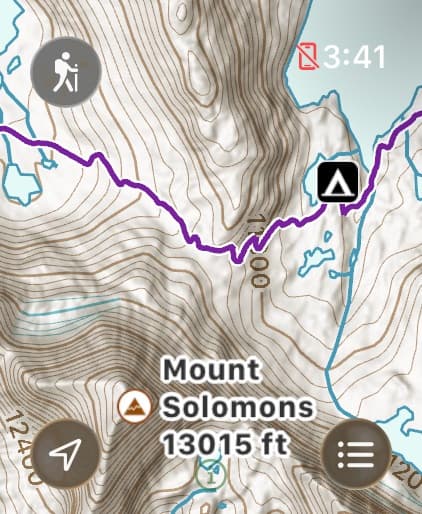
Nothing to re-enter
Everything from your phone, already on your wrist.
Your data syncs all the way through: plan a route in the web app → it syncs to your phone → it syncs to your watch. So the route you built at the kitchen table, and every waypoint on it, is on your wrist before you leave the trailhead — nothing to re-enter, nothing to export.
If you want to see where that route comes from, that’s the whole subject of how I plan a trip in the web app →
How I use it
Follow your route — and check it against the terrain.
The thing I actually rely on most isn’t a “take me to this point” — it’s my planned route, right there on my wrist. I do a lot of detailed planning, even for off-trail travel: a main line, alternates, backup routes. So I almost always have a good route on the watch to navigate by.
As I move, I’m constantly comparing three things — where I am, where I expected to be on that route, and what the terrain around me is actually doing. That’s the navigator’s mindset; the watch just puts the map right where I can glance at it.
When I do want to head to a single spot, Guide Me points me to any waypoint and keeps me oriented toward it — handy off-trail, working through the trees toward a waterfall, a stand, a wildlife camera, or a notch you can’t see yet.
And mark your location with a tap to remember a spot — where you left the trail, a good campsite, anything you’ll want to find again.
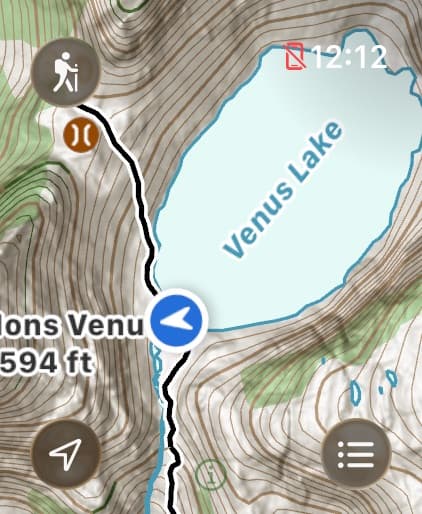
Recording
Record your hike — one of the two reasons surprised me.
I record all my hikes right on the watch, for two reasons:
- It saves my iPhone’s battery. I’d rather keep that battery in reserve for an emergency than spend it recording.
- Recording keeps your location live. This is the one people miss. While you’re recording, the watch holds a current fix — so you glance down and you’re there, now. If you’re not recording, it can take 30–60 seconds to get a location every time you check, which is miserable when you’re trying to check on the move. Recording is what makes the glance genuinely instant.
Your recorded tracks also save to Apple Health as workouts, with the route attached. More on stretching a charge across a multi-day trip is in the battery guide →
One hardware note: to record a full day like this, you want a Series 7 or later — basically any Apple Watch with an always-on display. Earlier watches don’t have the battery to record long hikes.
Setup
Set it up the way I run mine.
Two things make the difference:
- Download your maps for offline use before you go. Some maps download right on the watch; others you download on the iPhone and transfer over. Either way, once they’re on the watch you’re navigating with no signal, deep in the backcountry — which is the whole point.
- On an Apple Watch Ultra, assign the Action button to Topo Maps+. Then mid-hike you press the Action button to toggle between your stats and the map, and the Digital Crown zooms — so you can navigate without ever touching the screen. That matters more than it sounds: sweaty fingers, cold-weather gloves, or water lock while paddling all make the touchscreen unreliable, and the button just works.
Assigning the Action button (Apple Watch Ultra)
Topo Maps+ hooks into the Action button as your workout app, so one press starts recording and every press after that flips between the map and your stats:
- On the watch, open Settings → Action Button. (You can also do this from your iPhone: the Watch app → My Watch → Action Button.)
- Set Action to Workout.
- Under App, choose Topo Maps+.
- Under First Press, pick the activity you want the button to start — Hike, Ski, or whatever you’re doing. (Last Used works well if you switch around.)
- That’s it. Out on the trail, one press starts recording in Topo Maps+; every press after that toggles between your stats and the map, and the Digital Crown zooms.
FAQ
Common questions
Do I need a subscription to use Topo Maps+ on Apple Watch?
Yes — the Watch app requires a Pro or Elite subscription. There is nothing extra to buy or install: the Watch app is part of the same universal App Store app you already have on your iPhone. Once you subscribe on the iPhone, the watch app unlocks. You can start a 7-day free trial to try it.
Which Apple Watch do I need?
Any Apple Watch that runs the app will navigate. But to record a full day of hiking, you want a Series 7 or later — basically any Apple Watch with an always-on display. Earlier watches do not have the battery to record long hikes. The Action button setup described in this guide is specific to the Apple Watch Ultra.
Does it work without my iPhone?
Out on the trail, yes. Getting set up the first time does need your iPhone: you subscribe in Topo Maps+ on the phone, and that is what unlocks and initializes the watch app. Once the watch app is set up and your maps are downloaded onto it, you do not need the iPhone around at all — it navigates standalone, no cellular and no signal required. Leaving the phone behind is a normal way to use it.
Can I see my planned routes and waypoints on the watch?
Yes. Your data syncs all the way through: plan a route in the web app, it syncs to your phone, and it syncs to your watch. The route you built at the kitchen table, and every waypoint on it, is on your wrist before you leave the trailhead.
Do recorded hikes save to Apple Health?
Yes. Tracks you record in Topo Maps+ on the watch save as workouts in Apple Health, with the route attached, alongside the track in your Topo Maps+ account.
Try it
Put the map on your wrist.
The Apple Watch app is part of the same App Store app — nothing extra to install. It unlocks with Pro or Elite, and the 7-day free trial covers it. Download your maps and navigate offline from your wrist.