
Guides · Hydration
Don’t run out of water.
It sounds boring. But getting it wrong is one of the fastest ways a good day turns dangerous — and it comes down to two skills most people skip. Here’s how I plan water, on a real trip I’d be nervous about without a plan.
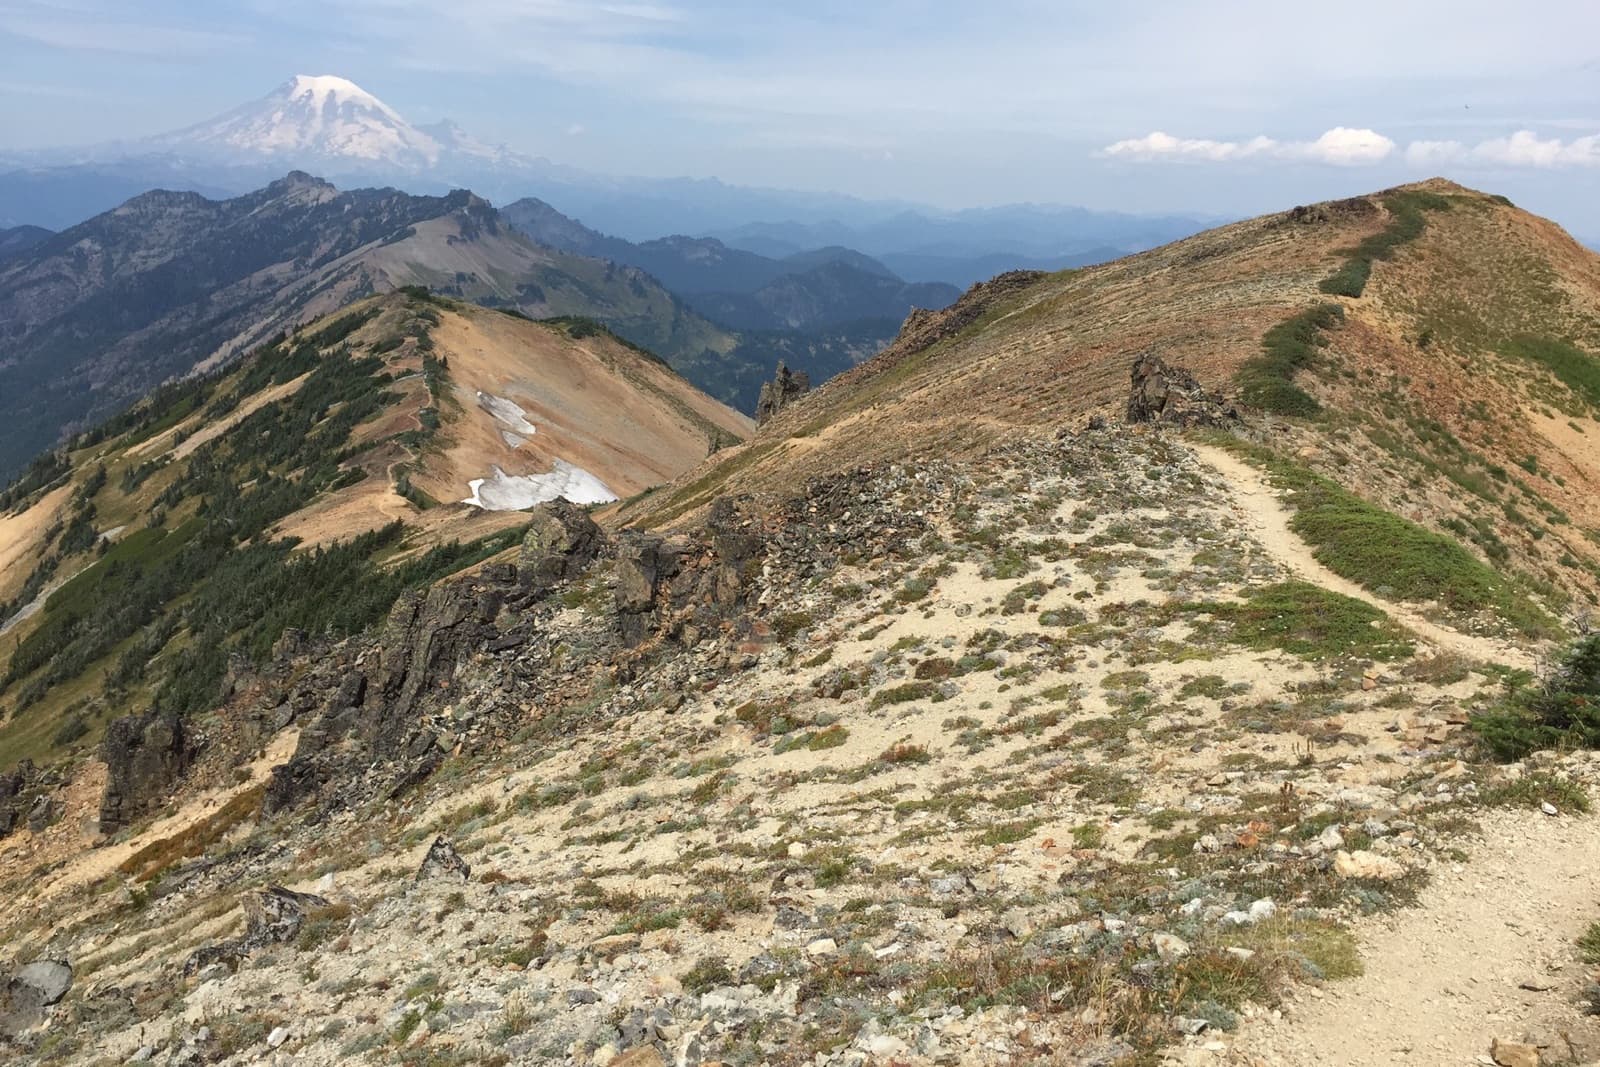
Before any of the numbers
Start with yourself.
Before any of the numbers below matter, understand this: the skill starts with knowing yourself.
I have friends who need noticeably less water than I do. I have friends who crush me on the trail — a natural, almost-4-mph walking pace I couldn’t hold if I tried. None of that is the point. Taking your skills to the next level begins with understanding your own pace and your own hydration needs — not comparing yourself to anyone else, and not planning around what you wish you could do.
So the numbers below are mine. Yours will be different, and figuring out yours is the actual work.
The first skill
It starts with a number: how long will this actually take?
You can’t plan your water until you know how long you’ll be out, and that number is not the trail mileage or whatever an app estimates. The only way I’ve found to get it right is to break the day into pieces by what the terrain is doing, estimate each piece from my own pace, and add them up.
The key is knowing what your paces actually feel like. Here are mine:
- Smooth trail (most of the PCT): just over 3 mph, even with long climbs.
- On-trail, but 1,000 ft of gain in a mile: I slow to about 1.5 mph. (The PCT in the PNW rarely climbs that hard — but plenty of trails do.)
- Off-trail on boulder, scree, or talus: 1–2 mph, depending on the grade and how much route-finding it takes.
- Off-trail through brush: under 1 mph, and honestly it’s horrible — I just try to get out of it as fast as I can.
A real example. On day 3 of my Eagle Cap route, the first short section is off-trail and climbs about 1,000 feet in a mile. That one piece alone, I’m planning 1.5 hours for.
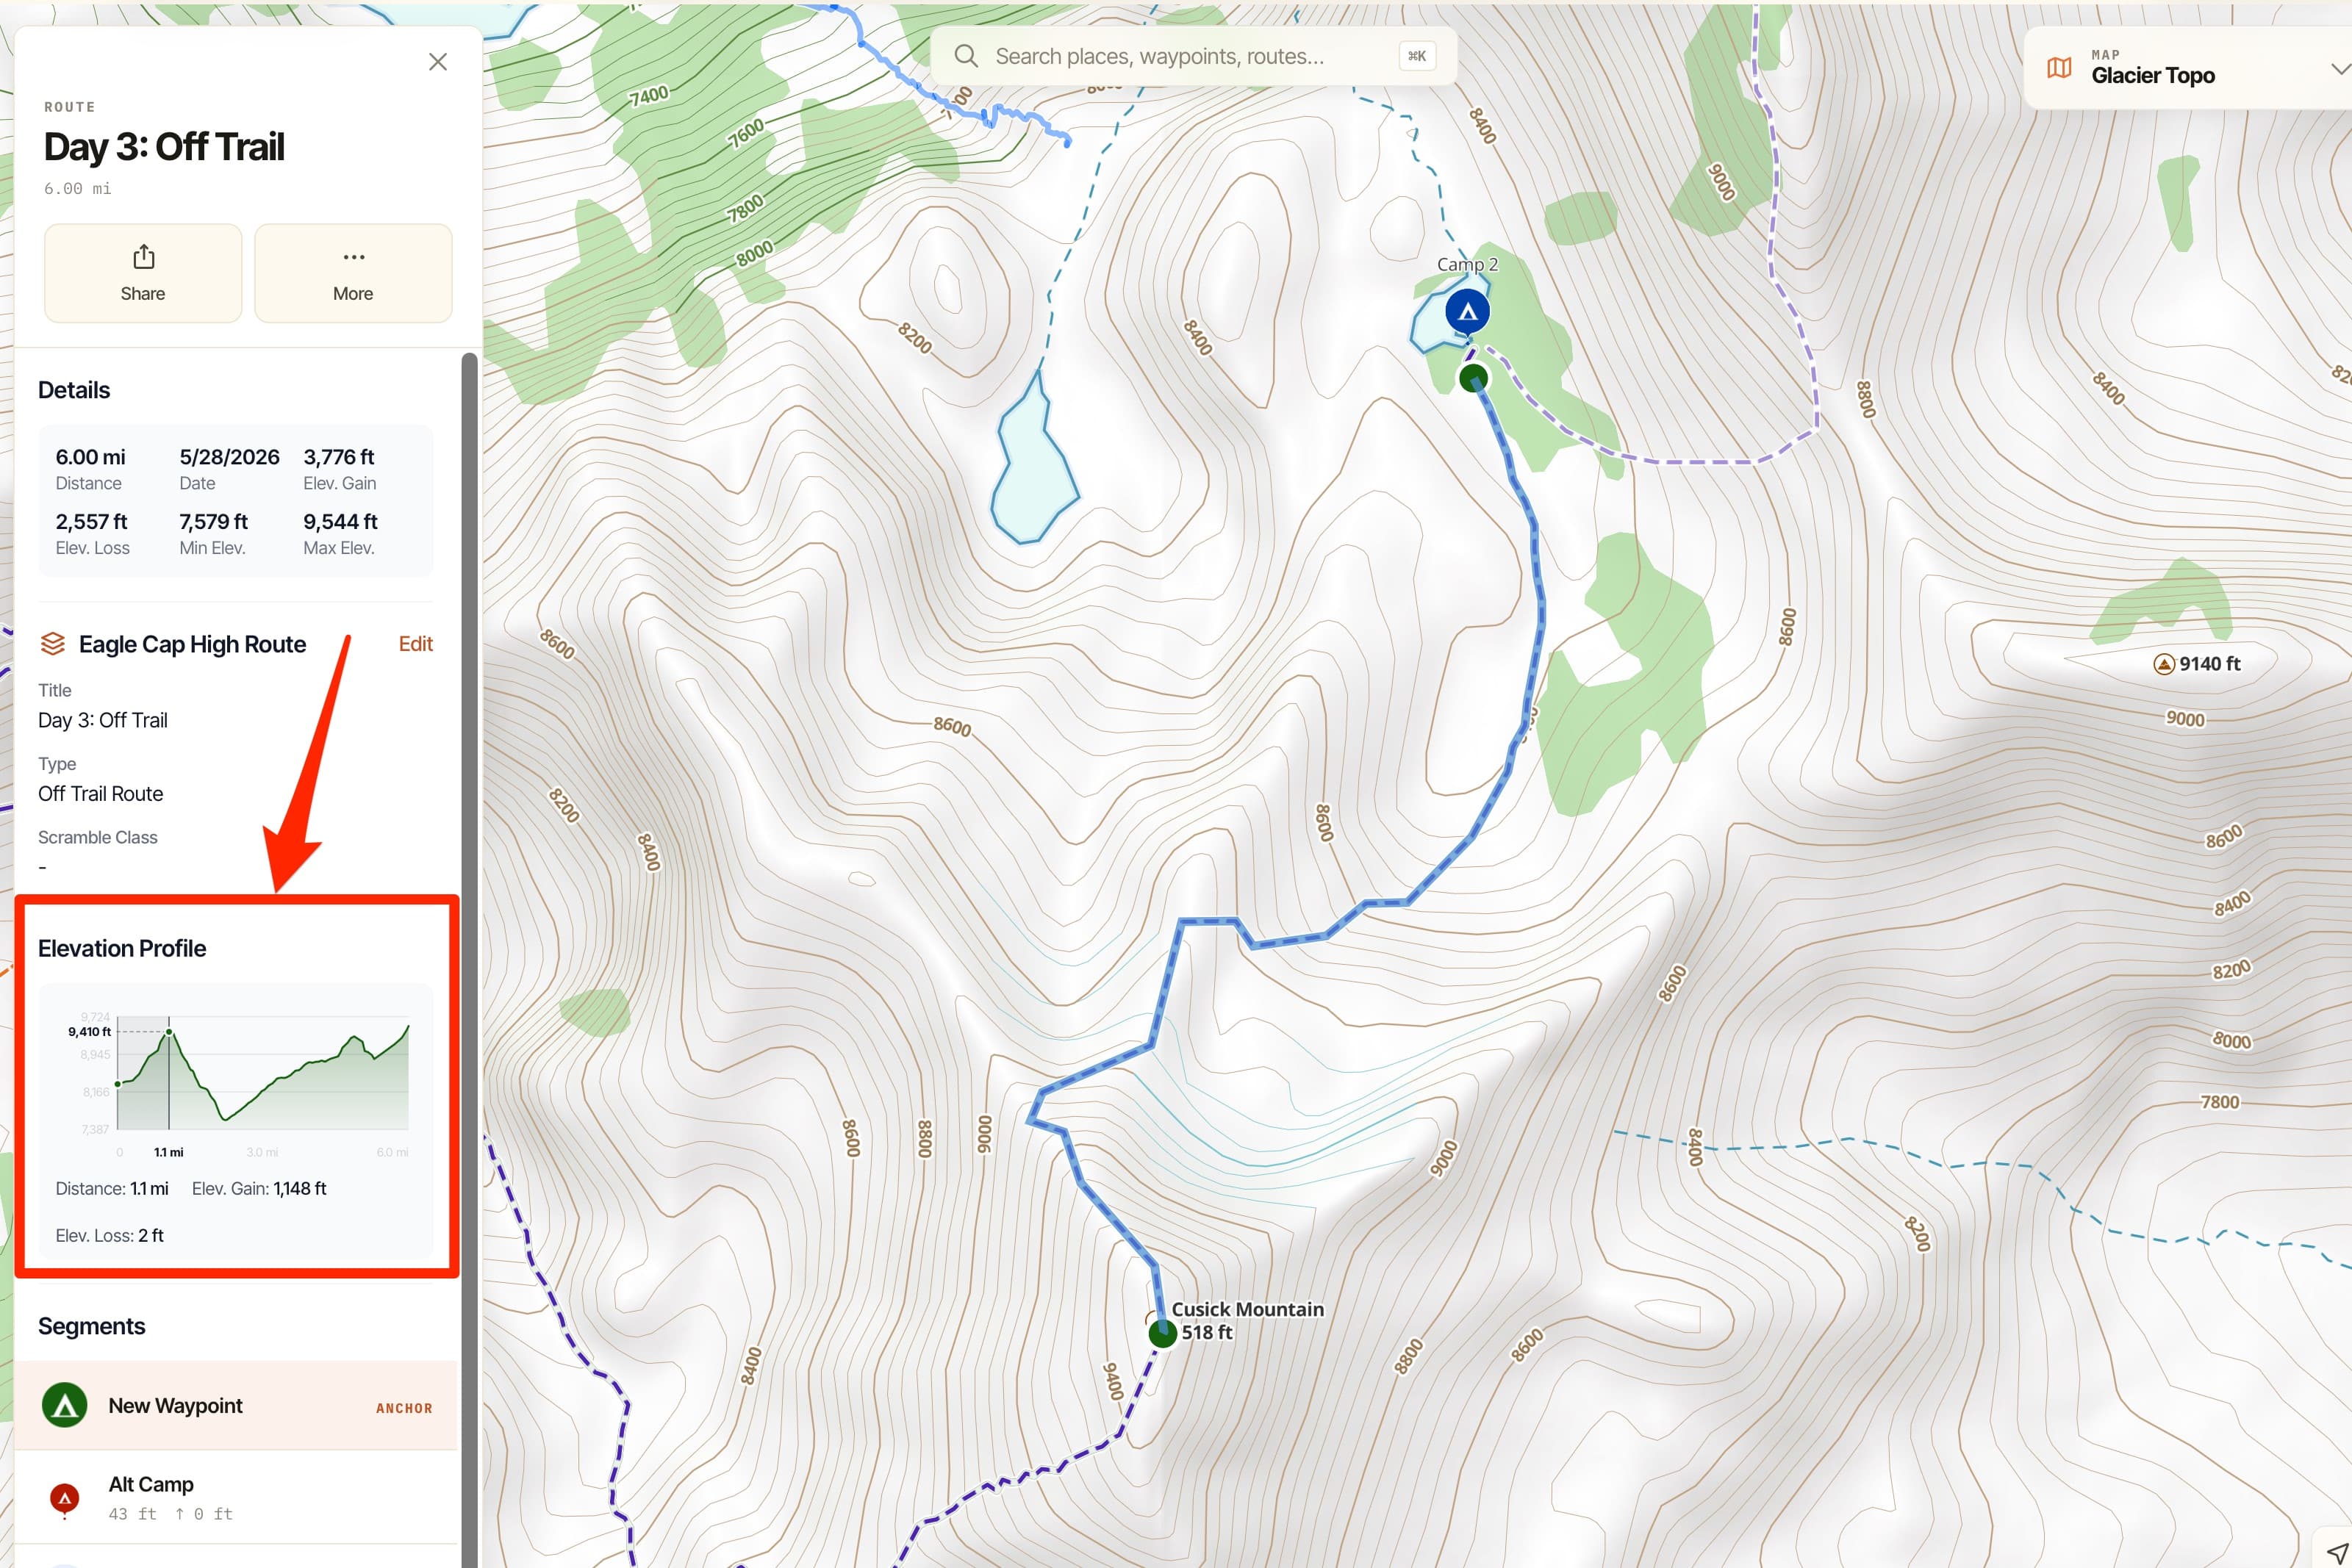
I do this segment-by-segment in the web app: trace the route, then read the distance and elevation for each piece so I can put a realistic time on it. More on that in the trip-planning guide.
The second skill
Turn time into water.
Once I have a realistic total time, the water math is simple:
- Know your intake. On a hot day on an exposed ridge, I go through about two-thirds of a liter per hour — and I drink more than most people. Use your number, not an average.
- Time × intake = what you carry between sources. For me, 3.5 liters gets me about 5.5 hours on a hot day. I like to plan for 5 hours at most between reliable water, then work through the day’s segments to see where I actually need to be, and when.
A word on rules of thumb
They can be a fine starting point, but they don’t always hold. I like 1 liter per 3 miles on smooth trail like the PCT — it even leaves me some wiggle room. But that rule falls apart the moment I leave the trail, or on anything significantly steeper or choked with blowdown. Treat a rule of thumb as a backstop, not a plan — which is exactly why the time estimate above matters.
Carry it smart
Split your water.
Here’s a habit that’s saved me more than once: I always split my water into more than one container — even when I carry a 3-liter bladder, I’ll put 2 liters in the bladder and a liter somewhere else.
Why? Because when you’re locked into the navigation and the sheer beauty of where you are, it is easy to forget to check your water. If it’s all in one bladder, you find out you’re empty by sucking air. If it’s split, running your main flask dry is a hard check — it stops you, and makes you reassess exactly where you are and how much you have left, before you’re in trouble.
What I carry today: two 800 ml flasks in my shoulder straps and a 1-liter “dirty” soft flask in an outside pocket. I can see at a glance what’s left, and the dirty flask makes a quick fill-up easy.
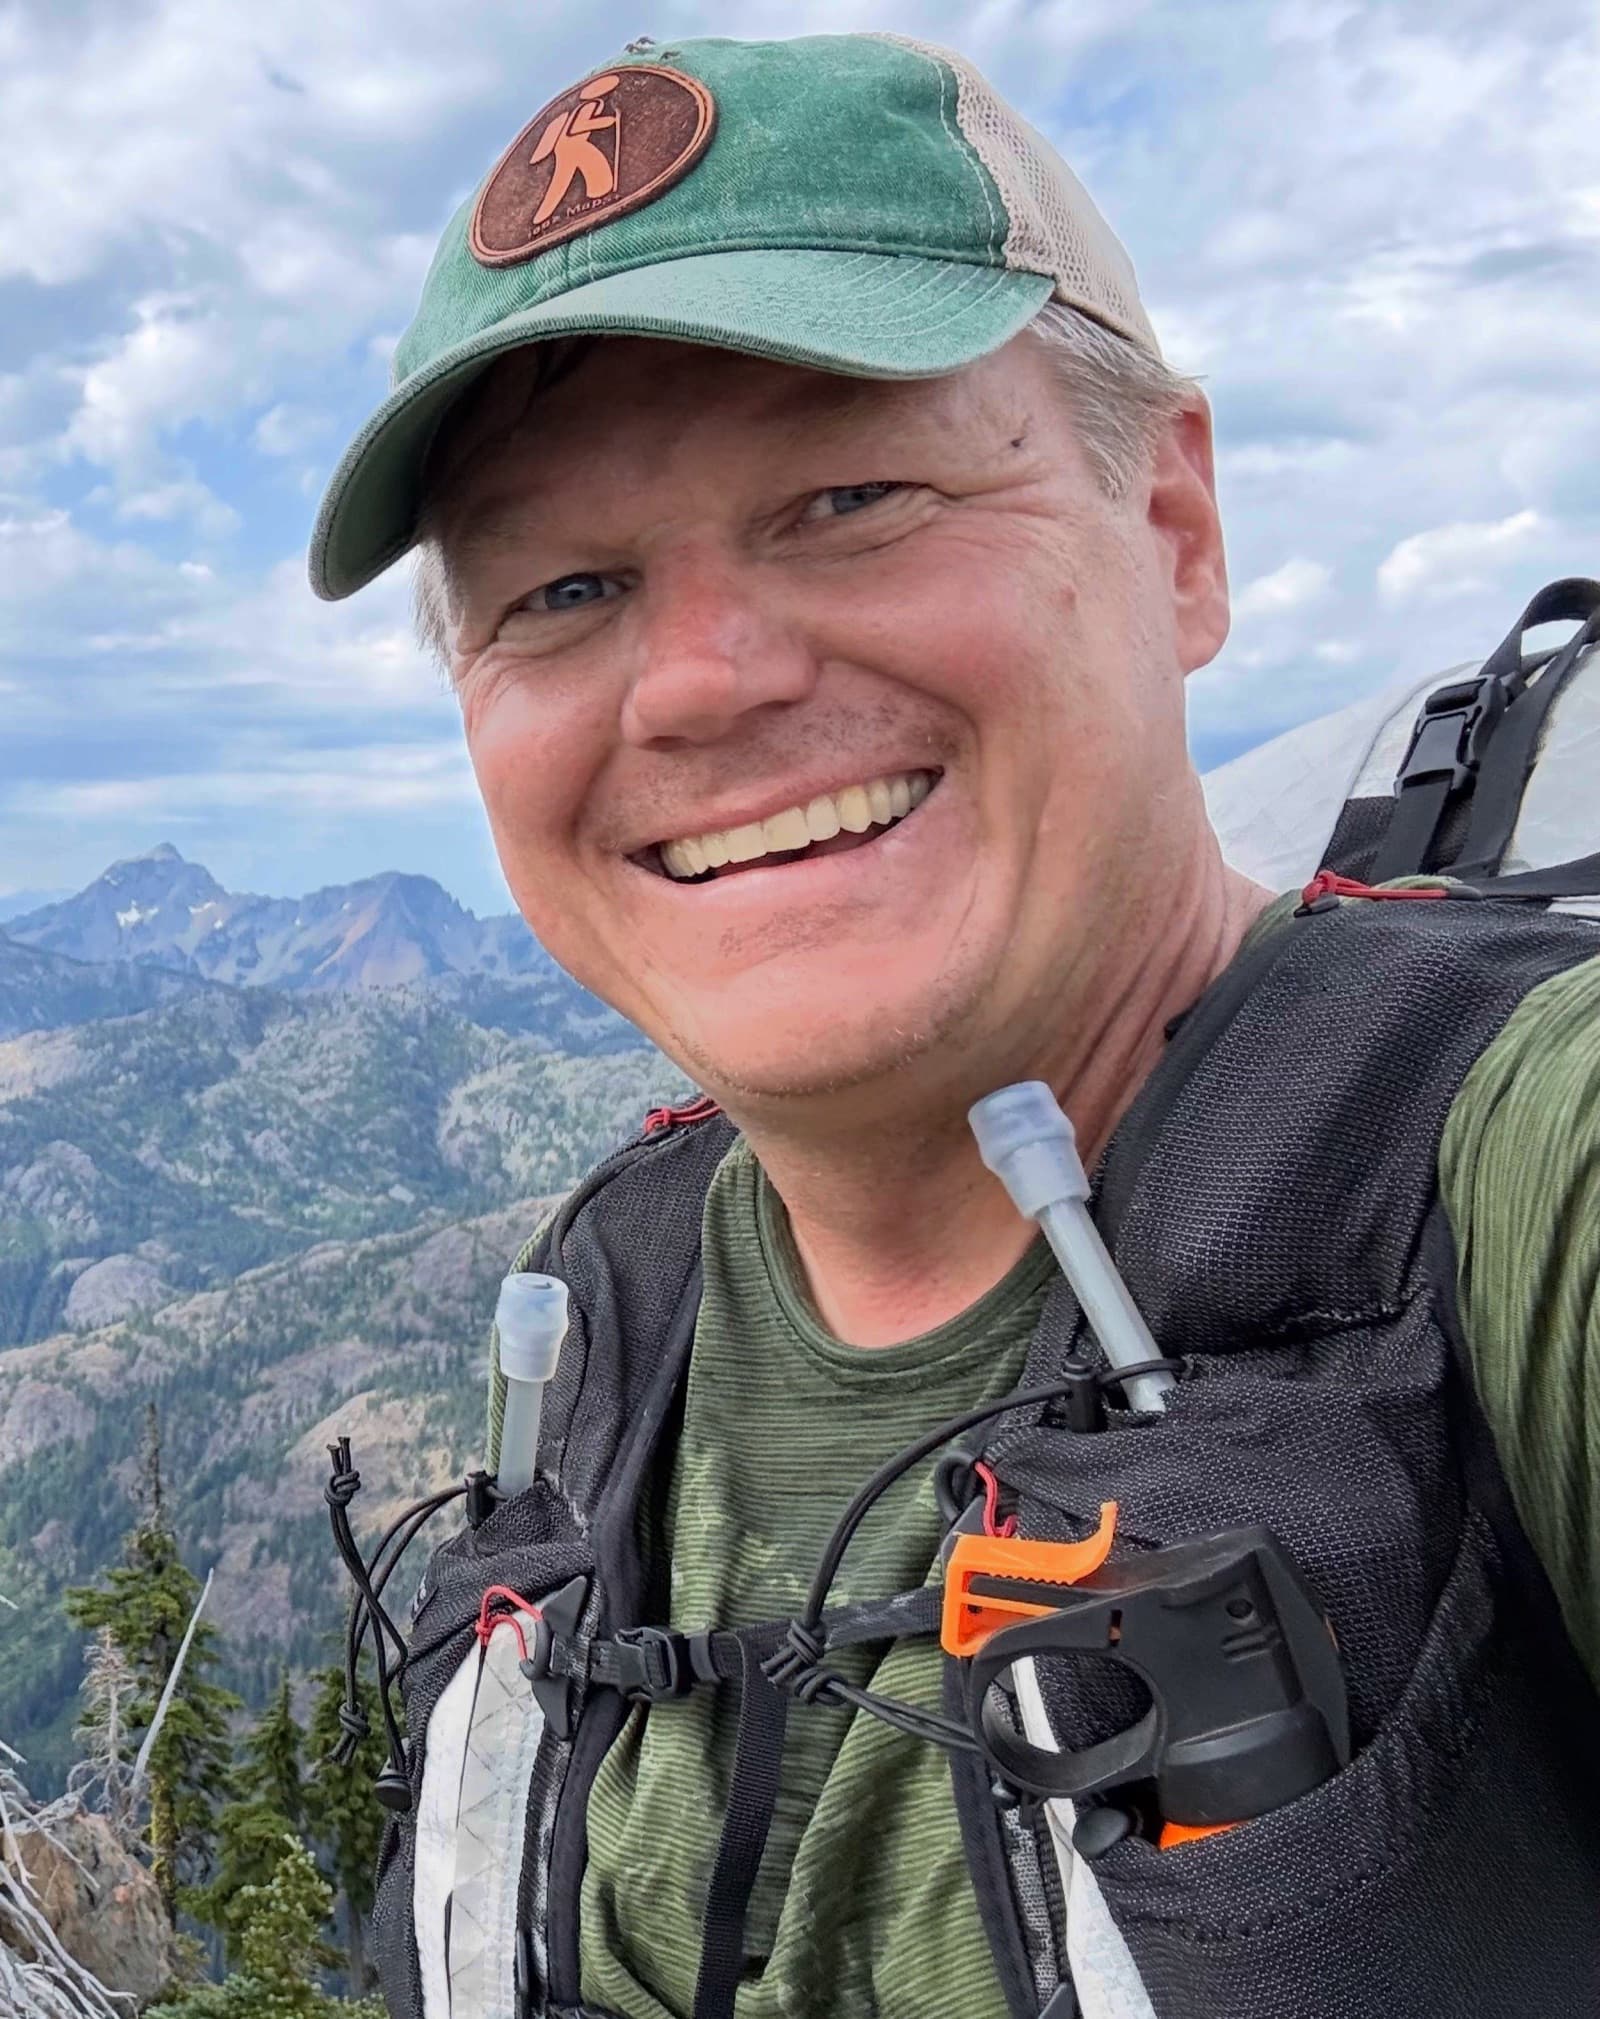
For the 5-day Eagle Cap trip, my pack only holds 2.5 liters and I don’t think that’s enough for day 3 — so I’m strapping two 0.5-liter soft flasks to the outside to get me to 3.5 liters.
Before you go
Plan your refills — and a real bail-out.
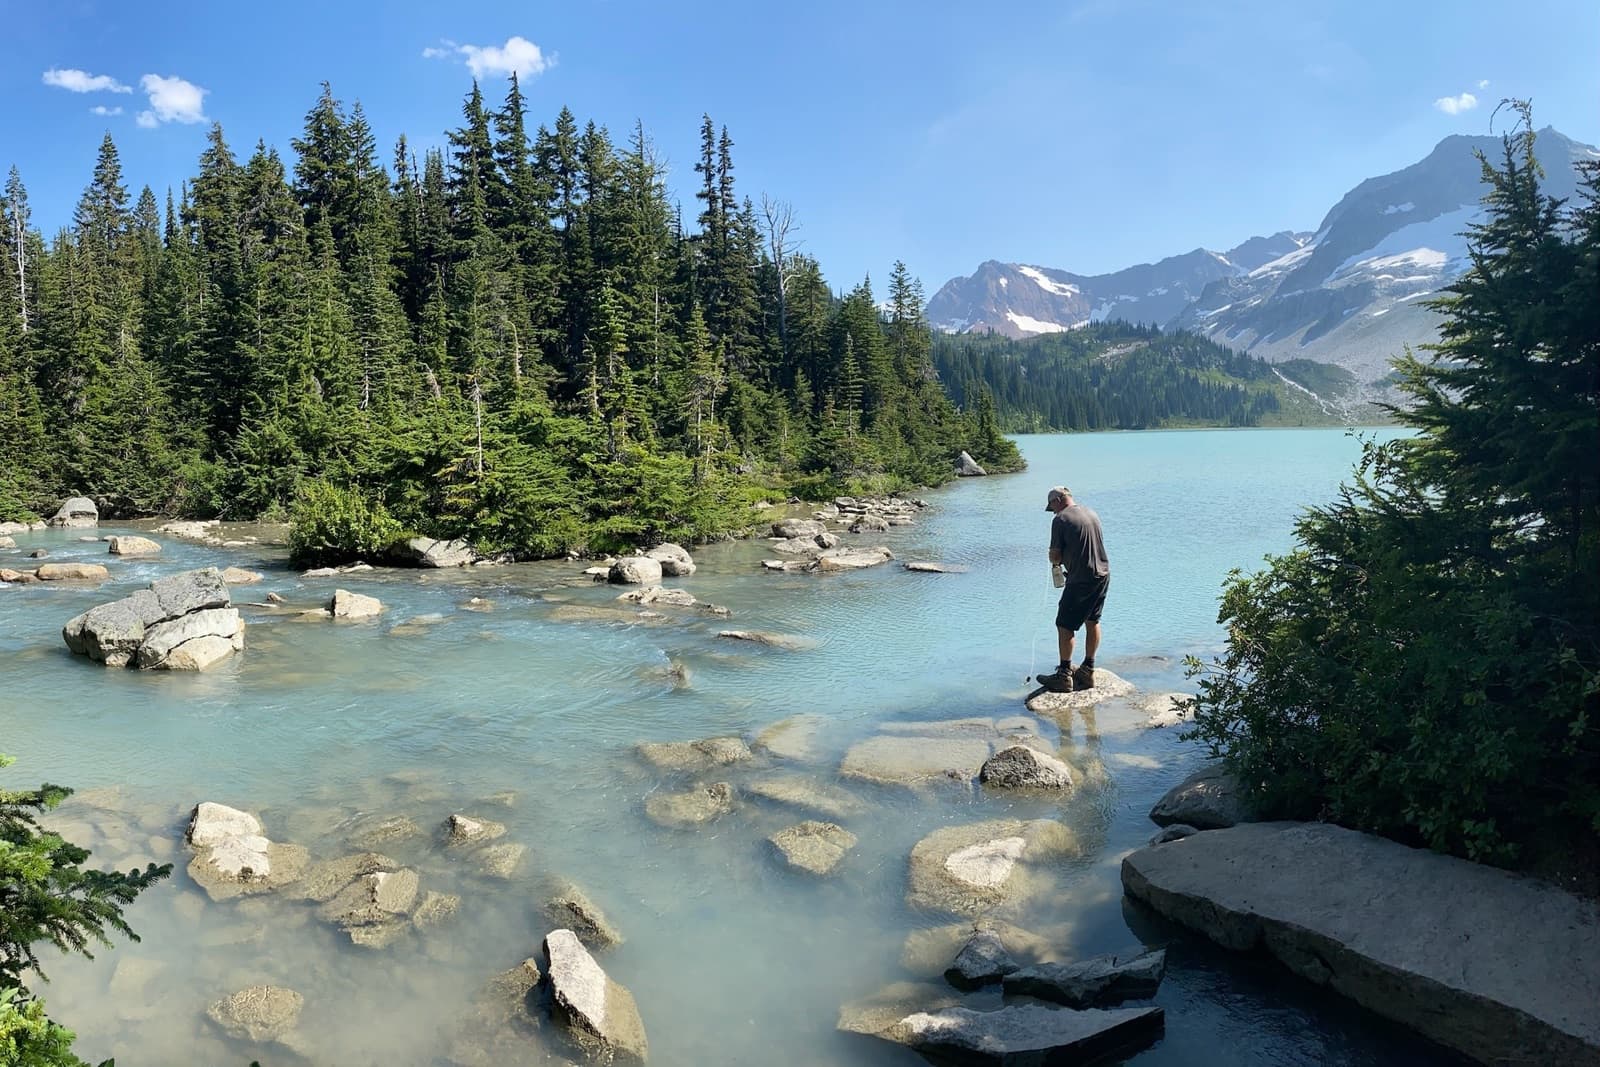
- Find your refill spots, but don’t count on the iffy ones. On the Eagle Cap route there looks to be a tarn below Hawkins Point I might be able to fill at — but given the time of year, I’m not going to count on it being there.
- Carry extra. The PNW usually has plenty of water, but “usually” isn’t “always.” I once got caught on a hot day in the Goat Rocks when every stream I was counting on had dried up. It was bad. I don’t make that mistake anymore.
- Set a concrete bail-out before you go. For this trip, it’s Prospect Lake: if the tarn below Hawkins Point is dry and we’re more than 3 hours past our start, we drop down to Prospect Lake. Deciding that at the kitchen table — not on the ridge, thirsty, at 4 p.m. — is the entire point.
- Plan for quality, not just quantity. I’m used to the Cascades, where pretty much every source is flowing. On the Eagle Cap trip I filtered from Dollar Lake without thinking twice. It was stagnant, and I’m fairly sure that’s what gave me the stomach cramps that walked us out a day early. Now I note whether each refill spot is moving or still, and I carry iodine as a backup in country I don’t know well. (The whole story is in the alternates and bail-outs guide.)
So it comes full circle: none of these numbers are universal. Your pace, your intake, your tolerance — they’re yours to learn. The skill isn’t memorizing mine; it’s paying attention to your own body until you know your own numbers as well as I know mine.
Plan it
Break your next day into pieces.
Trace the route in the web app, read the distance and elevation segment by segment, and put a real time — and a real water plan — on the day before you leave.