
Elevation Profiles
Elevation profiles are an important part of planning a backcountry trip. They show how much climbing and descending a trail, route, or track involves, and where.
How to view an elevation profile
-
Tap a trail, route, or track on the map.
-
Tap Profile.
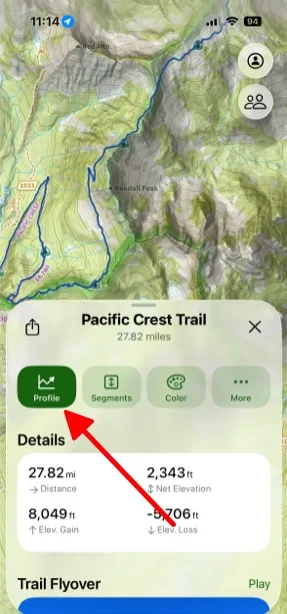
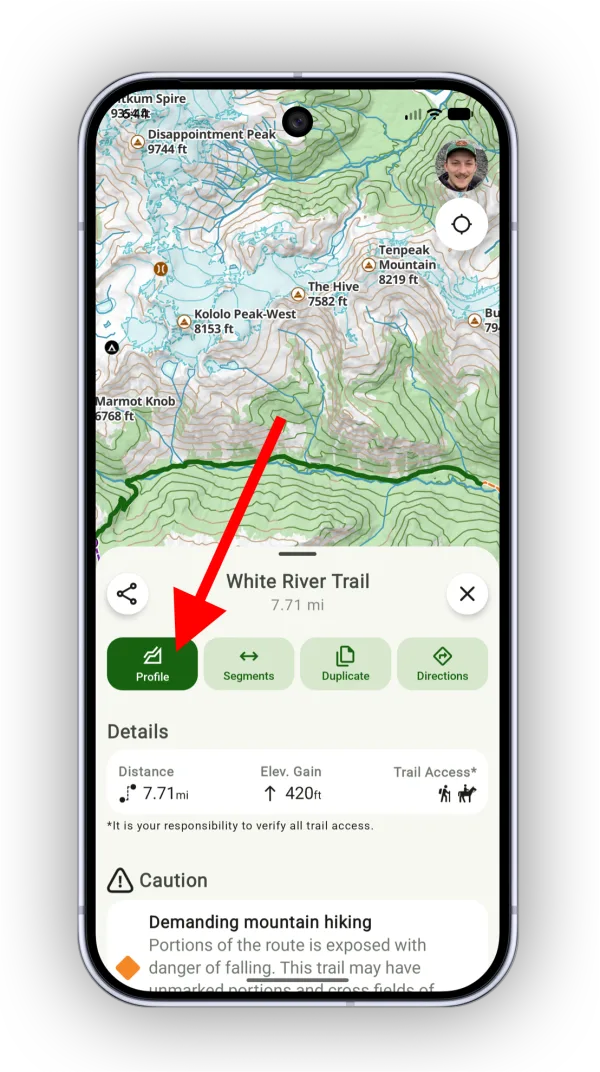
The elevation profile opens below the map.
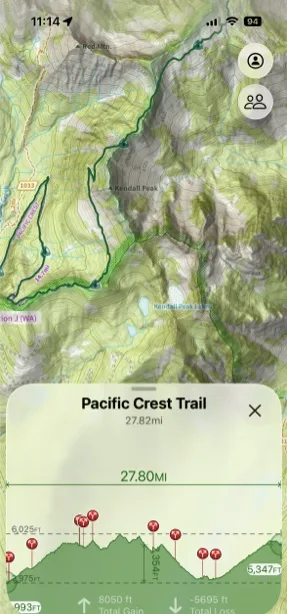
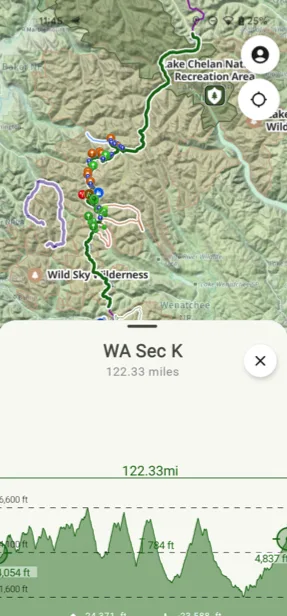
Scrubbing and selection modes
Switch between two modes using the icons in the top-right corner of the profile:
-
Scrubbing mode: tap or drag anywhere on the profile to see quick metrics for that point. A green dot on the map marks the spot you're looking at.
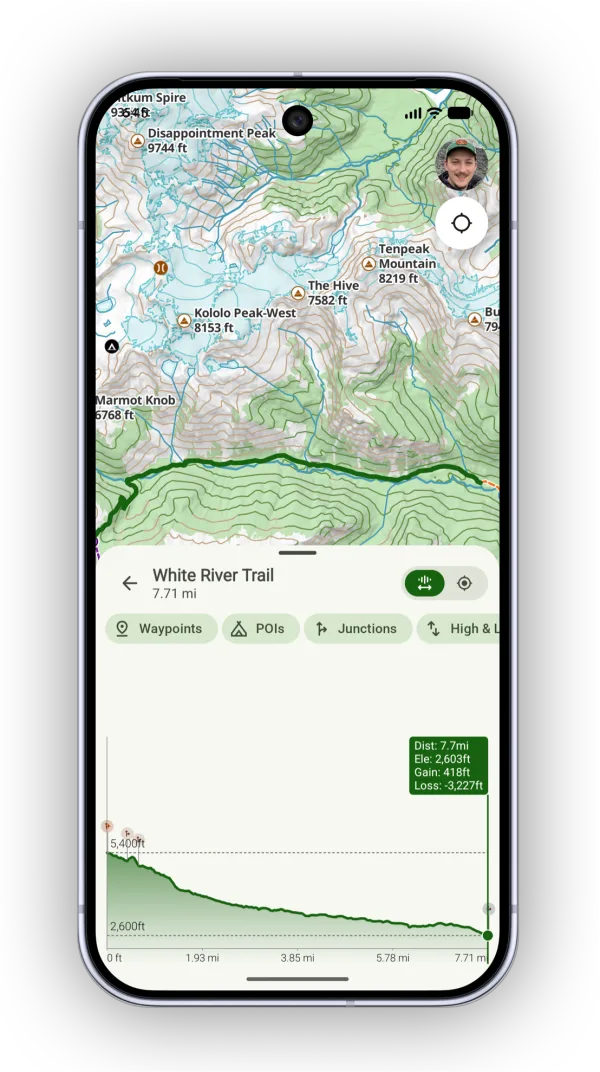
Shown on Android — iPhone looks slightly different. -
Selection mode: view metrics for the section of the route between two crosshairs. This is helpful for planning a specific section of the route.
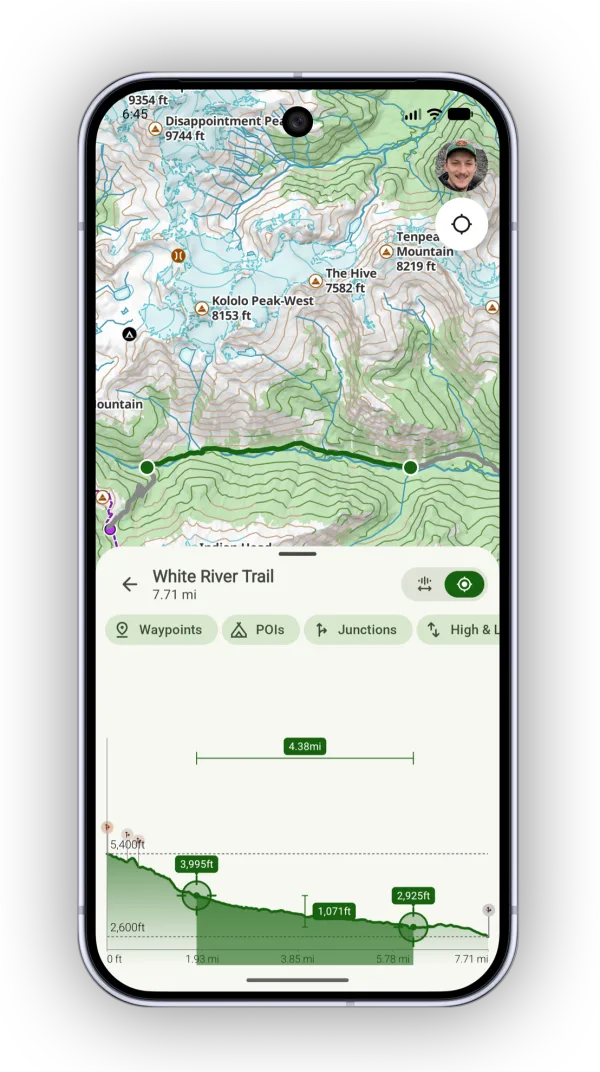
Shown on Android — iPhone looks slightly different.
Filter what shows on the profile
Above the profile are filter chips you can turn on or off:
- Waypoints
- POIs
- Junctions
- High & Low points
These help you see distances at, or between, different points along the trail.
Other elevation profiles
- A straight line between points: use the measuring tool and tap Profile.
- Between your own waypoints: create a route with the Connecting Waypoints method (see Creating a Route), then tap the route and tap Profile.
- What you can see from a point: Line of Sight shows a profile with the visible areas highlighted.
Updated October 7, 2026
More in Planning Tools
Still need help?
We’re a small team and we read every message. Email support@topomaps.co and tell us which device you’re on.